


While out and about in the thrift stores yesterday I got a bit of inspiration and decided to try something I hadn't personally seen anywhere.
Now I spend a lot of time online drooling over all the pretty ritual tools I see all over the place. They are beautiful and awesome and I look at them and think how much more witchy I would be with them. Then I see the price tag and snap out of it pretty darn quick. Things are going pretty good here, financially wise, but we still aren't at the spending on non-essential level yet. So spending 20-30 bucks on a ritual tool just isn't something that I can justify- especially when there are so many books out there I can rationalize spending the money on instead, lol.
But besides the financial aspect, I truly feel that the best tools are the ones that we have some personal investment in, that in some way we infuse with a portion of ourselves. Like how a lot of people dedicate their tools. While I don't do that, I do feel I can achieve the same thing by making as many of my tools as I can.
So here's my how to on the bit of inspiration that struck yesterday on how to make your own customized offering dish for under $5.
What you will need:

2. Patterned paper that you like and would like to have the bowl look like. I just printed some out which made my paper one sided so I needed 4 pieces, but if your paper is double sided you only need 2.
3. Modge Podge or a decoupage medium (hence forth known as modge podge because I'm kinda lazy like that) of your choice and a brush to go with it.
4. Scissors to cut things!
Now here's what you do:
Step 1.
Lay your bowl down upside down on your paper over whatever part of your pattern you really like and trace around the rim. Pick up the bowl and cut out the circle. You'll need 4 of those circles if you're using one sided paper, 2 if you're using double sided. Then put the bowl on the paper right side up and trace around the base, then cut out 2 of those circles.
Step 2.
Take your big circles and fold them into quarters like this-

Step 3.
Here's where it gets a little different depending on if you're using one sided or 2 sided. I'll do 1 sided first.
1 sided-
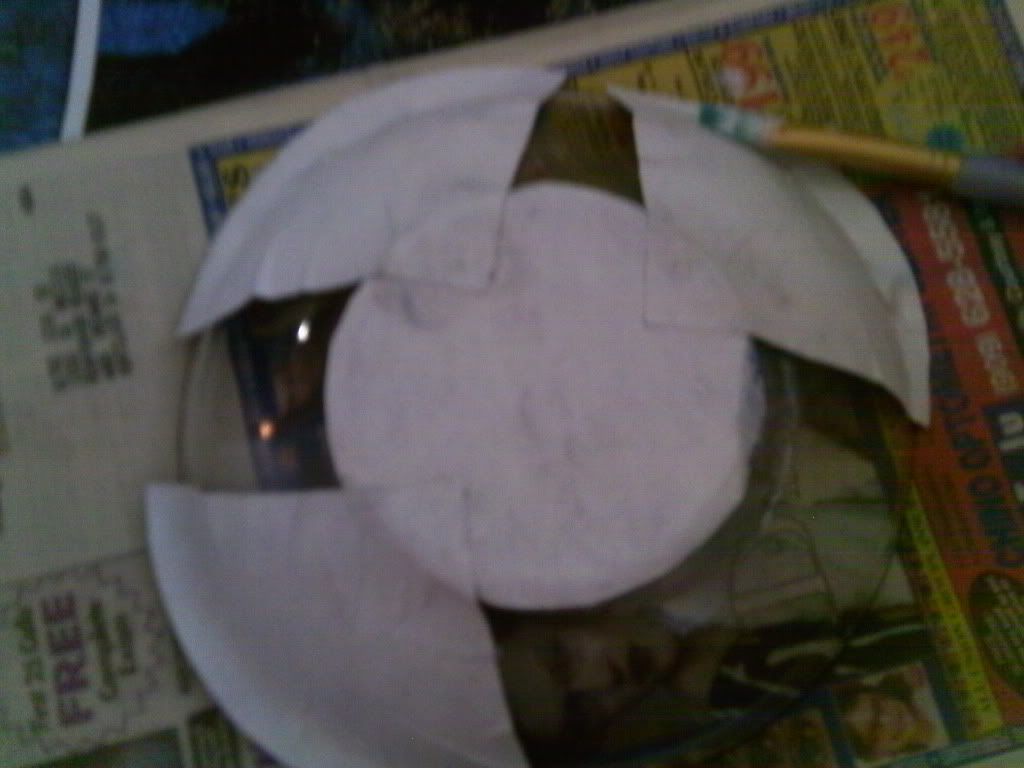
Now grab your modge podge and brush and paint up the outside base of your dish and take one of your small circles and put it on with the pattern you want to be visible from the inside of the dish facing down and pat it until it's smooth. Then choose 4 wedges that you like and position them like the 4 points of the compass with the "pointy" ends over your small circle and your wide end over the edge of the glass. Secure them in place by painting modge podge where you want to put them and then pressing them into it until they are flat.
It should look kinda like this-
2 sided-
You'll take one of your small circles and use your modge podge to paint the bottom of the bowl and press the paper into it with the pattern you want to see from the inside of the bowl down. Now take 4 of your pizza slices and position them around your bowl like the points on a compass, with the pattern you want on the inside of the bowl facing down and the pointy bit on the bottom of the bowl. Paint the area you want them with your modge podge one at a time and then press the pieces down until they are flat. Once your first 4 pieces are in place repeat the process with your other 4 wedges until all the "blank" spaces are filled in. Now skip down to Step 5
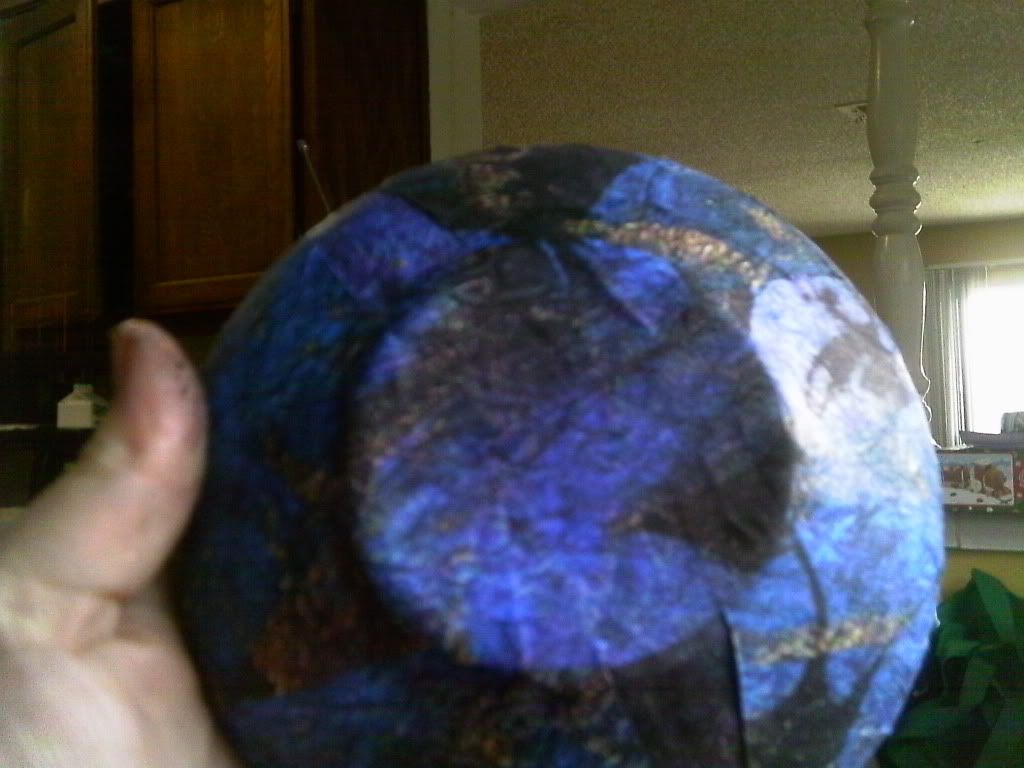
Step 4.
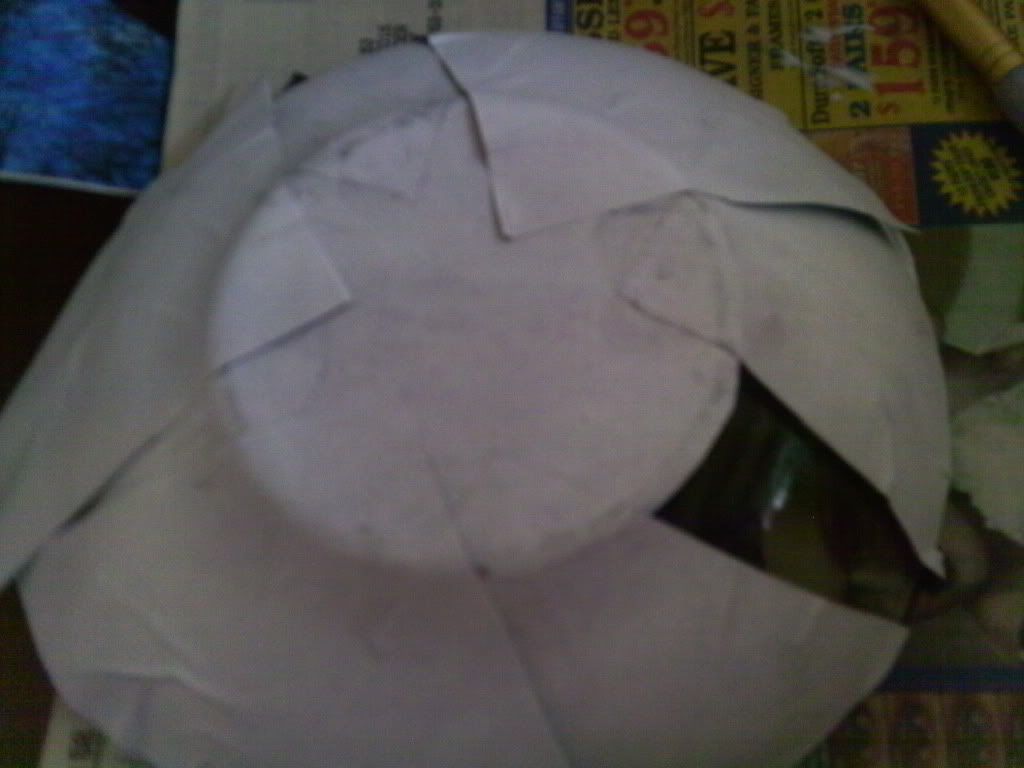
Not you have a great looking inside of your bowl, like this-
This is why you needed those 8 other pizza slices.
First you'll flip your bowl back over and grab 4 more wedges. You'll begin positioning these around the outside of the bowl just like you did in the last step, but with the pattern facing outward, like this-
Step 5.
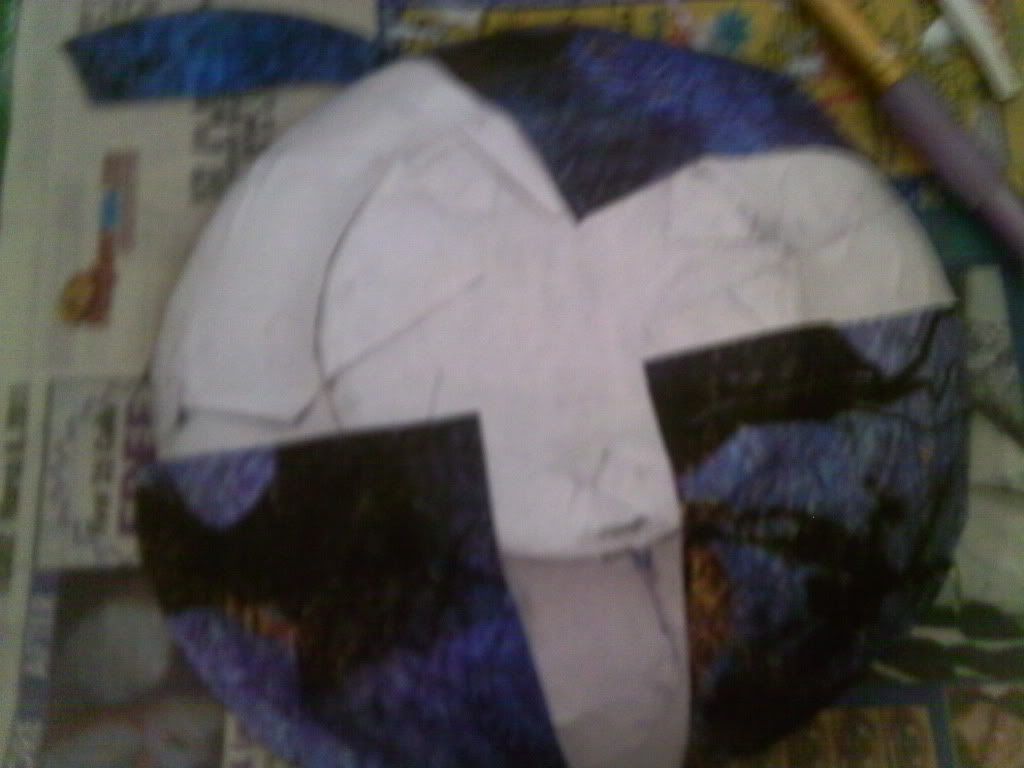
Now it's time to use that second small circle you cut out. Paint the bottom of the bowl with your modge podge and place the circle with your chosen pattern facing out and pat it down until it is smooth.
Take your scissors and trim the excess off around the rim of the bowl until all the paper is "flush" or smooth to the edge of the rim with none above it.
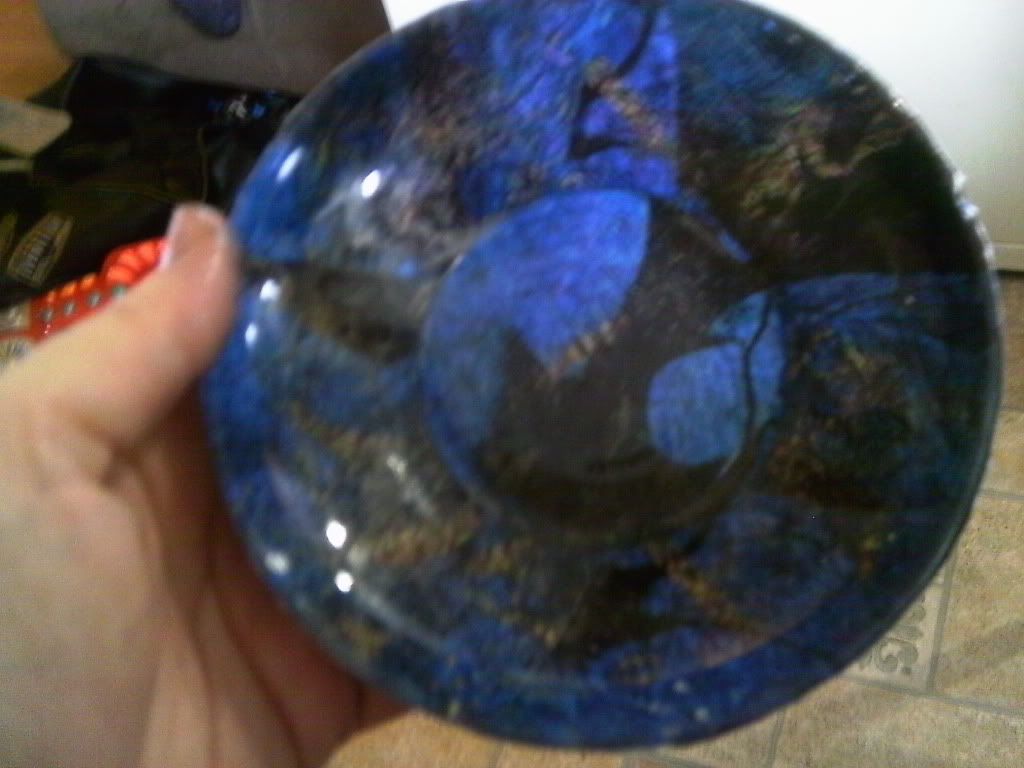
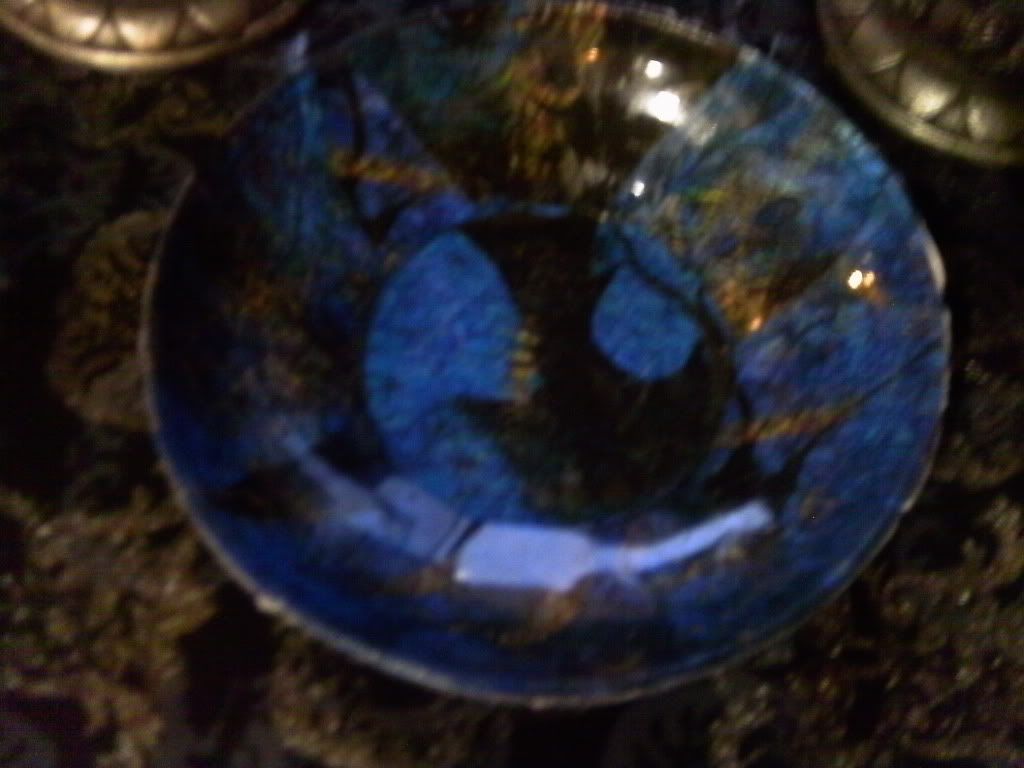
And now you should have something that looks like this-
Now I didn't like the mat finish on the paper, and because the modge podge I got was the glossy kind I just painted the outside all over with it and let it dry shiny.
So now I have this lovely offering bowl for less than $2.00!!


That is AWESOME! Every ritual tool I have ever had has come from a thrift store or has been a "do it yourself" thang. I really like this idea. And you will be WAY more witchy with your super beautiful, handmade offering bowl!
ReplyDeleteGood witchy craft! way to go! I make the majority of my craft tools, too. The only way to go, if you ask me.
ReplyDelete