


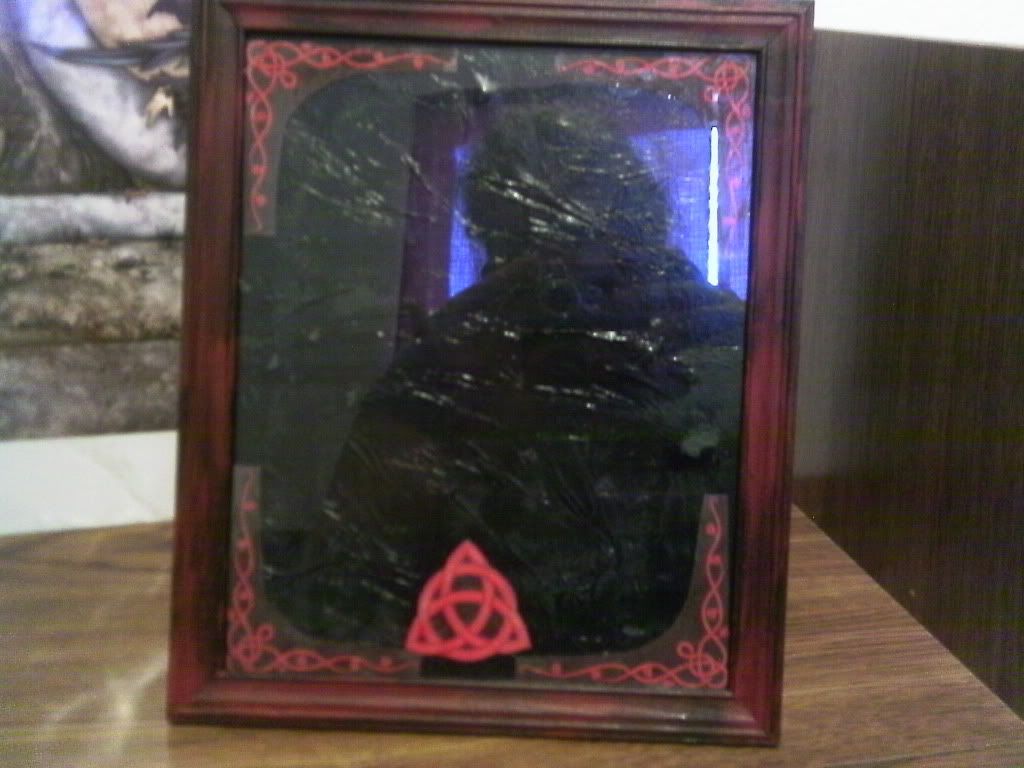
So here it is-
Thrifty Scrying mirror How To
Step 1: Get yourself a cheap picture frame with a glass front. I got this one at the 99cent store,

and originally was going to put the prints you see in them (awesome Witchen Kitsch prints I won in Brigid Ashwoods Halloween art contest) but they didn't fit, so I came up with this quick idea to use the frames instead. Take the backing and glass out of the frame and wash the glass.
Step 2: Now pick how you want to decorate your glass. you can paint it or you can do like I did and pick some graphics to print out and then modge podge them to the glass. Remember, whichever medium you choose that the design needs to be on the inside of the glass facing out, so make sure to lift up the glass and periodically and check how it looks. Once you're done painting or decoupaging then set the glass aside to dry.
Step 3: Now take the frame and start painting (or if you're decoupage crazy then pick some more graphics and start decoupaging the heck out of it). I chose to paint mine and since I like red and black, I went with a black base coat and then dry brushed some red over it for a nice streaky look.
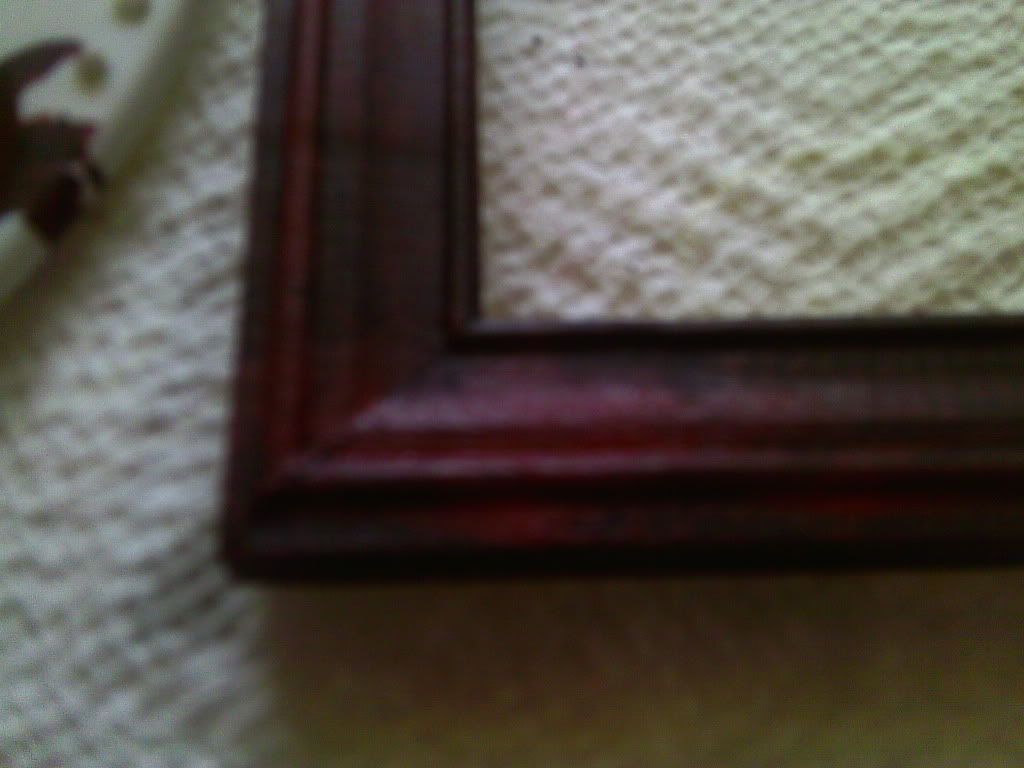
Set the frame aside to dry.
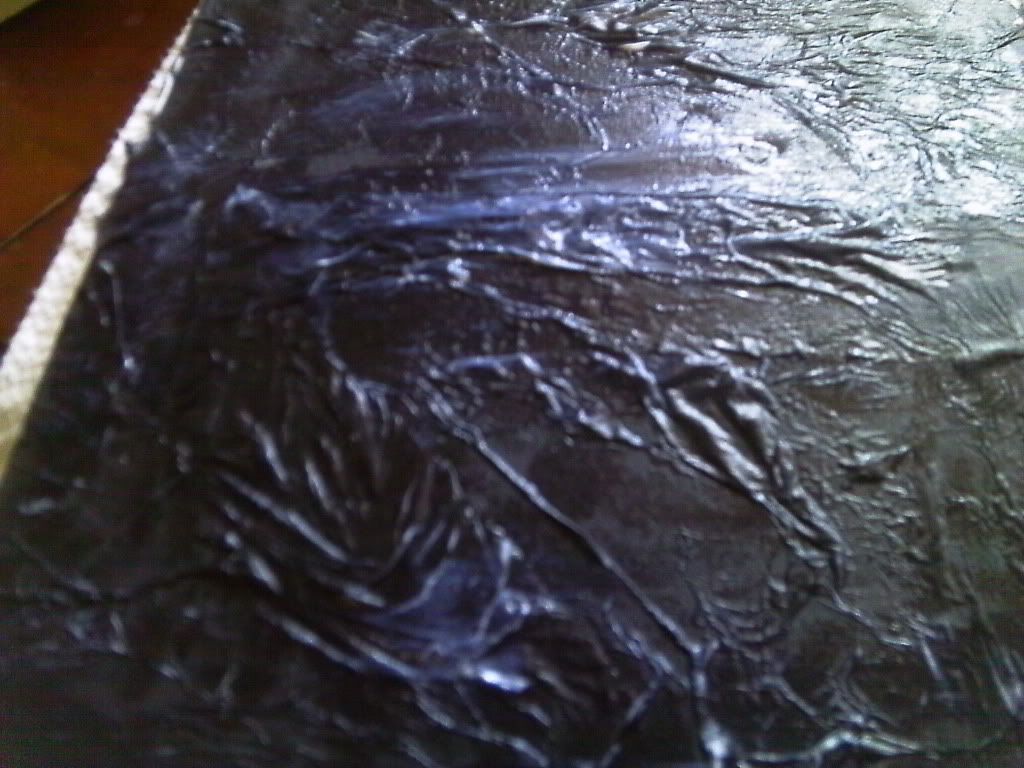
Step 4: Now take the backing of the photo frame (the bit with the hingy thing on it) and pick a paer that you like, preferably in black if you're planning on using this for sure as a scrying mirror (silver or gold that reflects would work as well, but hey, I like black). I used black tissue paper because I thought the crinkles added a nice depth. You'll want to modge podge the paper onto the backing and then I did a top coat of modge podge to make it glossy (if you do this make sure that it is dry all the way before you assemble the whole thing or it can get messy- I learned the hard way).
I'm thinking about setting up an altar just out of the things that I find and make and see if I can get a full 'traditional' setup and how cheap I can get it, just out of curiosity, lol.
Hope you enjoy this little spark of inspiration I had!


I liked both designs, but I definitely like the red in this one! It's nice and bright.
ReplyDeleteAnd of course, anything you make/re-claim yourself is more powerful because YOU did it. Love the black and red!
ReplyDelete